
How Can We Help?
How do I Create a Custom Report?
Step 1. View your search results from any Search page.
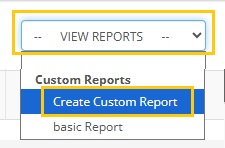
Step 2. Select one or more results, then select View Reports from the drop-down menu, and then Create Custom Report.
Step 3. Now build your custom report. All available fields are on the right. Drag the fields you want included in your custom report to the left and place them in any order you prefer.
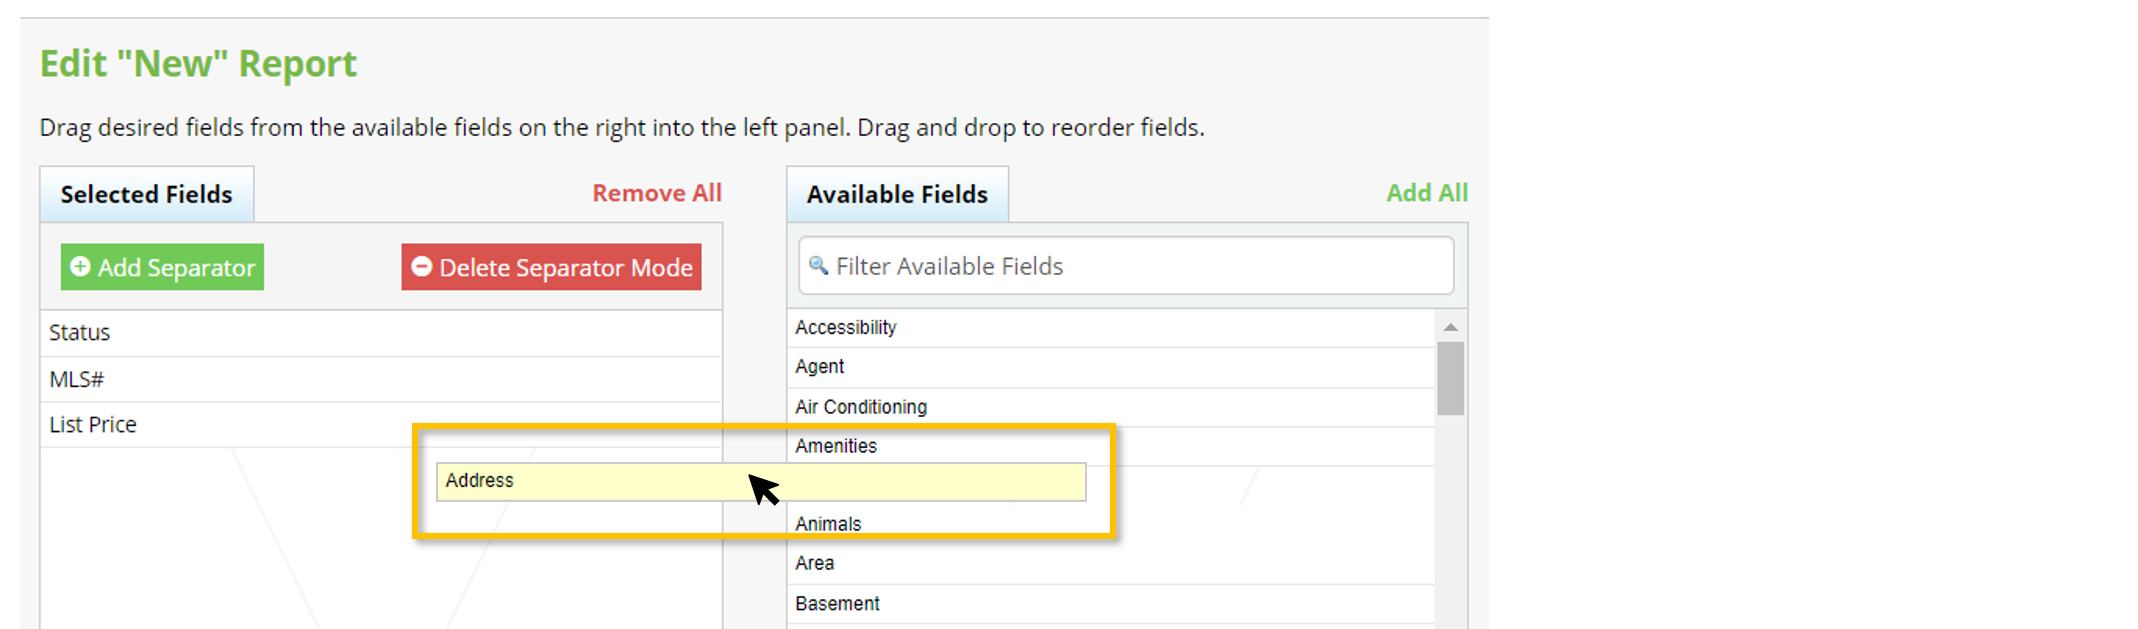
Tip: To find fields more quickly, enter all or part of the field name under Filter Available Fields.
Note: You may want to consider including the MLS # field as a point of reference. If you need the full address of the properties in your export, include: Address, City, State, and Zip.
Step 4. When you are finished adding and rearranging fields, give your report a name next to Customized Report Name.

Step 5. Select Save as New Report.

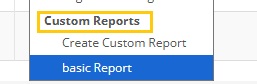
Saved custom reports appear at the bottom of the Reports dropdown menu. They can also be selected as a data set when using the Export Report.
Can I Organize my Custom Report Into Sections?
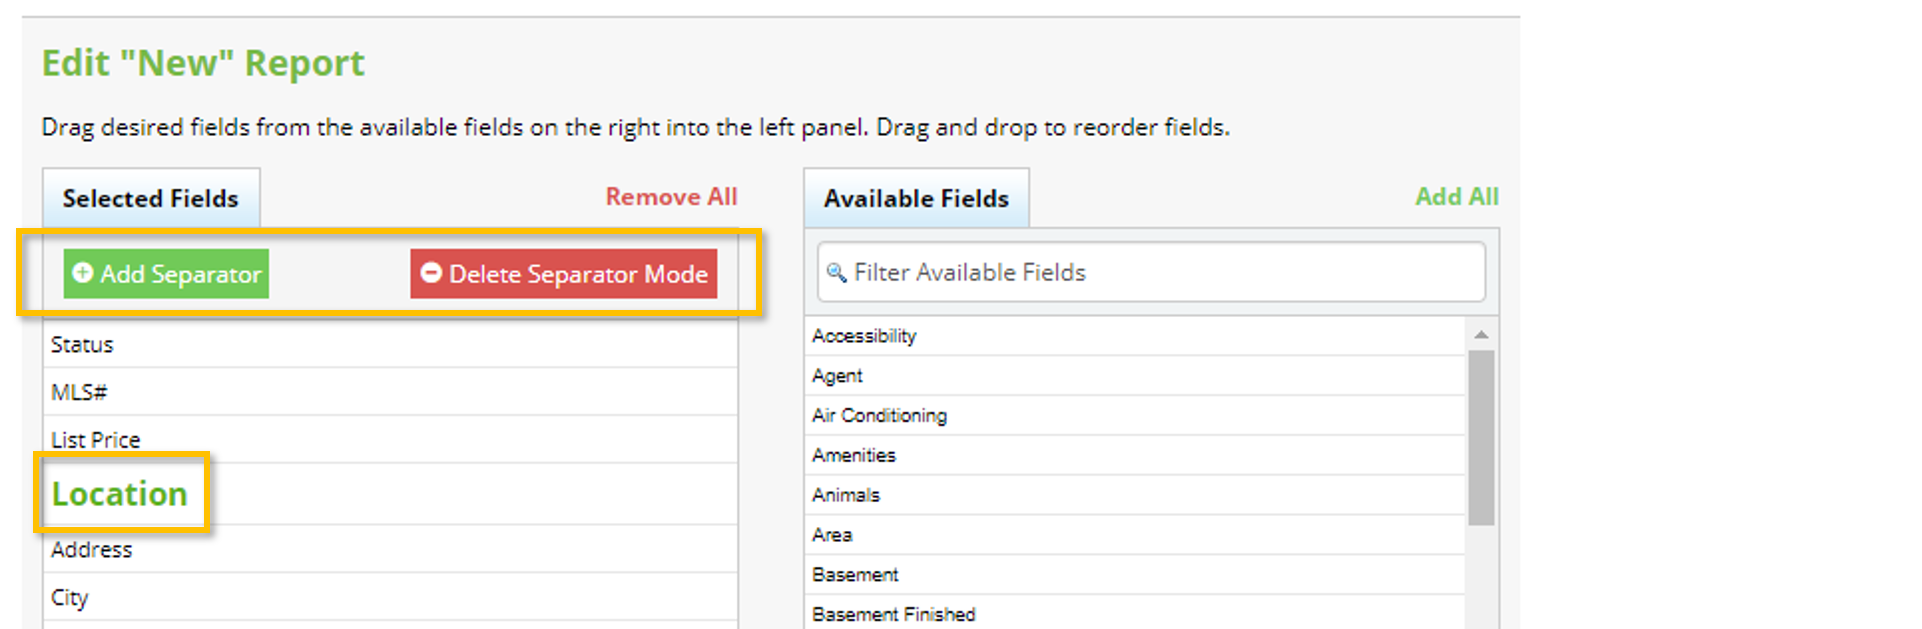
Yes. To organize your custom report into sections, create section headers using Add Separator at the top of the Selected Fields section. Delete Separator Mode will allow you to remove unwanted section headers.
How to Edit an Existing Custom Report?
You may want to add or remove fields from an existing custom report, or create a new report based on an existing custom report. Here are the steps to do so:
Step 1. View your search results from any Search page.
Step 2. Select one or more listings from the results, then select the name of the custom report at the bottom of the Reports drop-down menu.
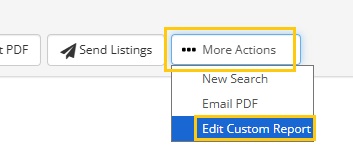
Step 3. Click on More Actions, then Edit Custom Report.
Step 4. Make any changes as needed, then click on Save and Run.

Step 5. To create a new custom report, click on Save as New Report.

The fields from your previous custom report will not be changed.
How to Delete a Custom Report?
Over time, agents may no longer have a need to access previously created custom reports. To do this, follow the instructions below:
Step 1. View your search results from any Search page.
Step 2. Select one or more listings from the results, then select the name of the custom report at the bottom of the Reports drop-down menu.
Step 3. Click on More Actions, then Edit Custom Report.
Step 4. Click on Delete Report, then confirm.
