How Can We Help?
The new Property Lists feature replaces both the static Saved Listings and Favorite Properties features on the MLS with a new, dynamic way to save listings to different lists. You can add and remove listings as desired, and associate different Property Lists with your clients for ease of use. You can also easily share these listings with your client.
There are two ways to share listings from a Property List.
Option 1: Share the Property List with your client directly.
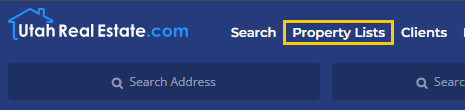
1. Click on the Property Lists link at the top of the MLS page.
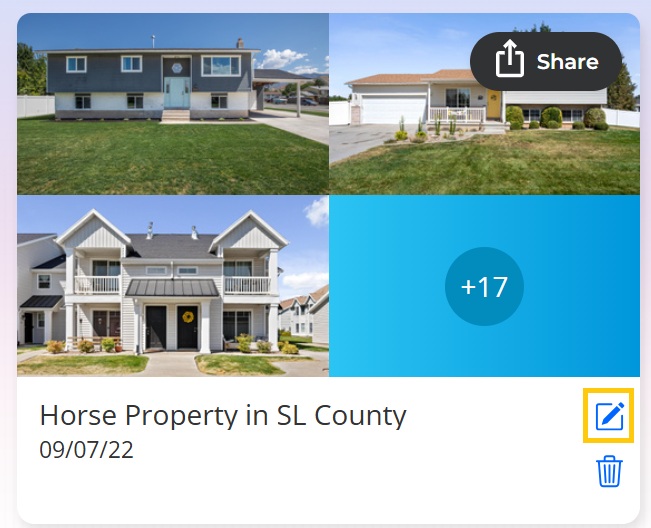
2. Highlight the Property List you would like to share and associate with your client, and click on the Edit button.
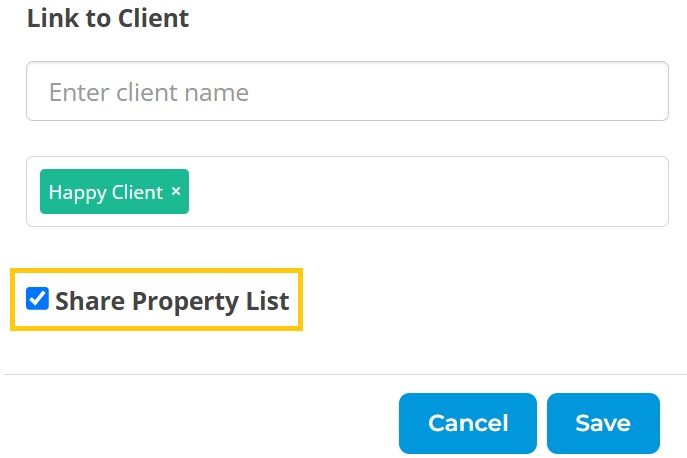
3. Under Link to Client, enter the name of your client (from the Client Manager), and click on the match in blue.
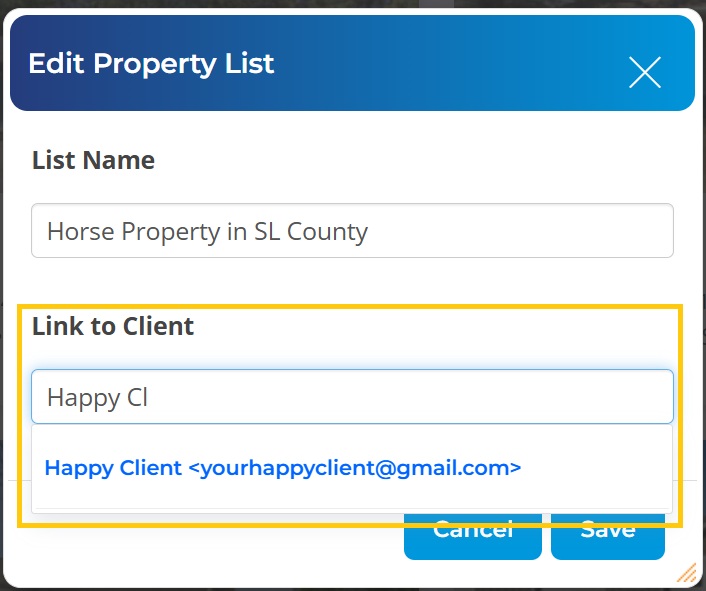
4. Check the box next to “Share Property List” to share directly with your client. Then click on Save.
Once shared, your client can view all listings saved to the Property List in their own client account on the MLS.
Option 2: Send an email to your client with the listings from your Property List.
- Click on the Property Lists link at the top of the MLS page.
2. From there, click on the Property List you would like to view.
3. Select the listings you would like to share. You can put a check box next to each listing, or, click on Select All at the top left.
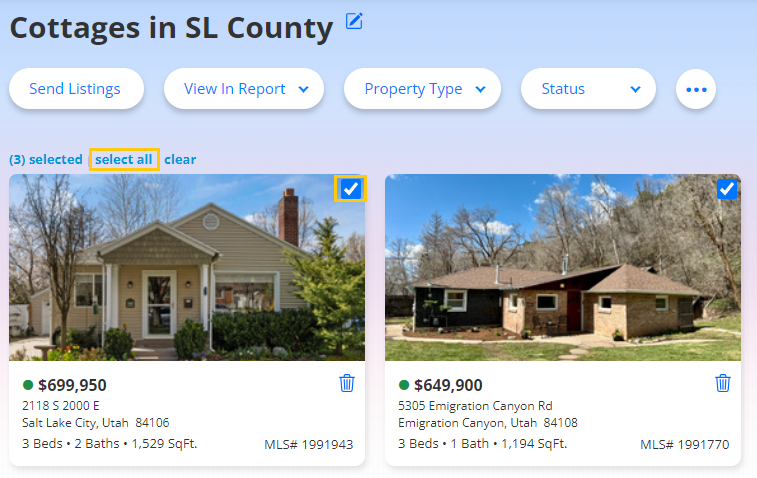
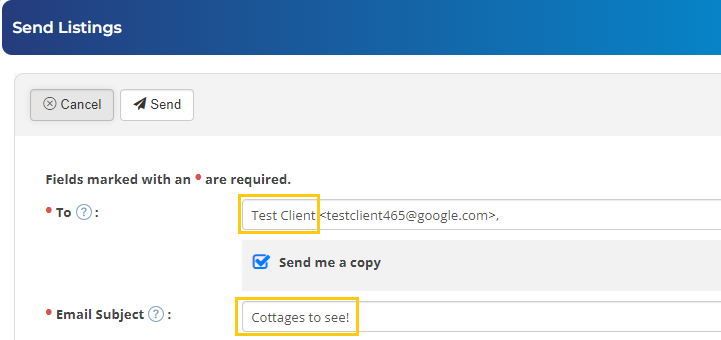
4. Click Send Listings at the top left of the page.

5. Enter the name or email address for your client (the system will check for clients in your client manager), and enter a Subject for the email. Click on Send when finished.