How Can We Help?
How do I Edit Listing Photos?
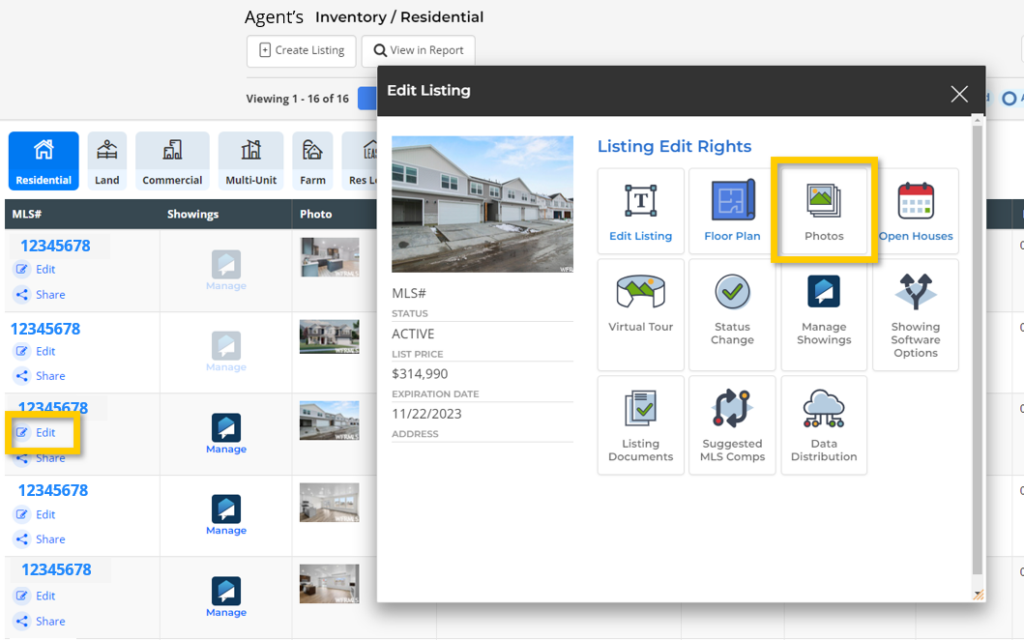
Listing photos can be edited on the Photo Maintenance page. This page can be accessed during initial listing input or by editing an existing listing and choosing Photos from the listing edit menu.
What Photo Edit Options are Available?
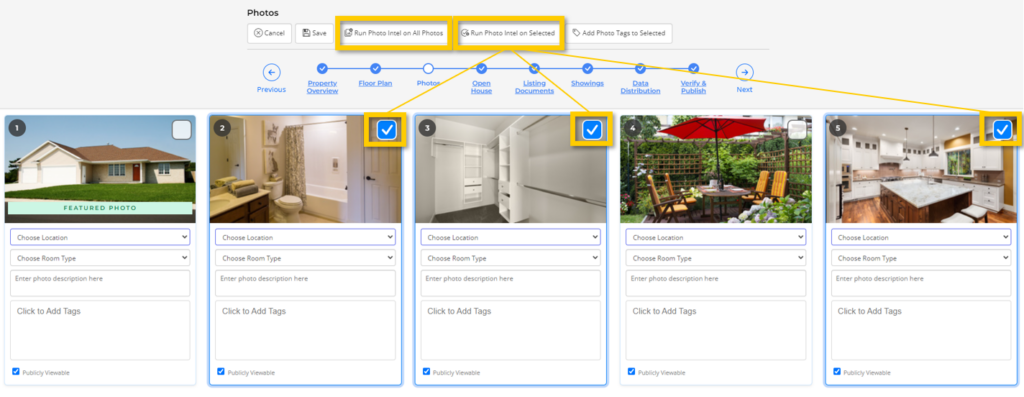
Once your listing photos have been uploaded, start editing your photos by hovering over the photo you would like to edit. While hovering over a photo you will have these edit options:
- The Move option allows you to click and drag individual photos and rearrange the order of those photos. The Featured Photo is the first or primary photo that appears on your listing, and can be changed by moving any photo to the first position.
- Crop allows you to remove unwanted areas of your photo, and to rotate the orientation of the photo. Note: The original photo is retained so you can re-crop a photo at any time.
- Delete can be used to remove the photo from the listing.

Add a Location, Room Type, Description, and/or Photo Tags to your photos to highlight details such as which room or property feature the photo is exhibiting.
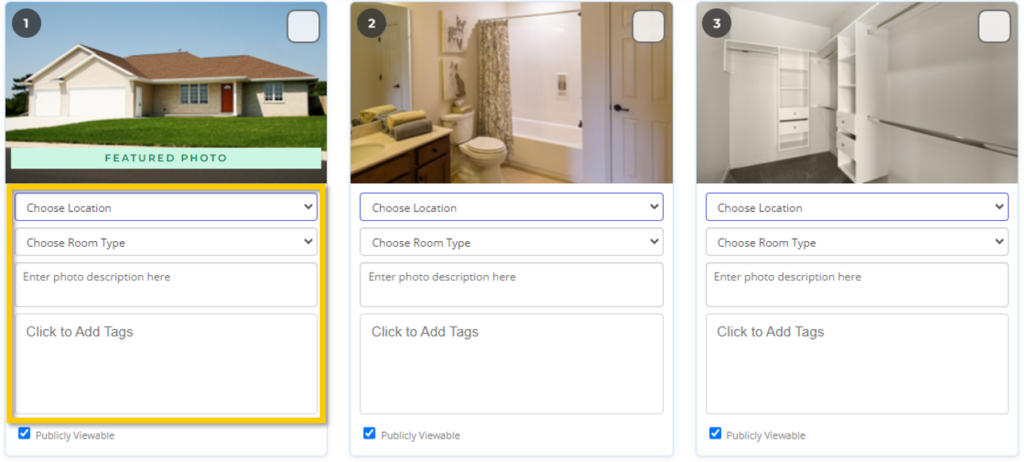
Deselect the Publicly Viewable checkbox to only allow the photo to appear within the MLS and not on public websites.
View Photos in Edit View or Gallery View
Edit View, the default photo view, includes all photo edit options. Gallery View is a simplified view which can be used to quickly arrange the order of your photos.

Be sure to select Save to save the photos you have uploaded and the edits you make to photos.