How to Setup a Listing
Aligned Showings has various customization settings that allow you to designate how you want to use the software to manage showing appointment requests. In the steps below, you will find a summary of the options for managing your showings using Aligned Showings.
Customizing your settings for a listing in Aligned Showings is an optional step. If you do not customize your showing settings for a listing, other MLS members will still be able to request showings on your listing, as there are default settings that are applied to all listings that are not customized.
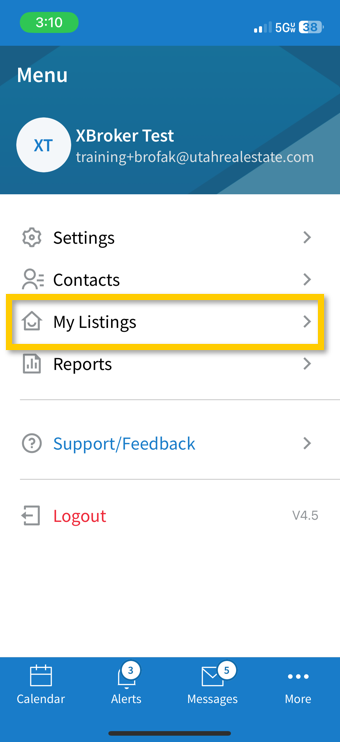
To access your Listing Setup from within the Aligned Showings Mobile App, launch the app and navigate to My Listings in the Menu.
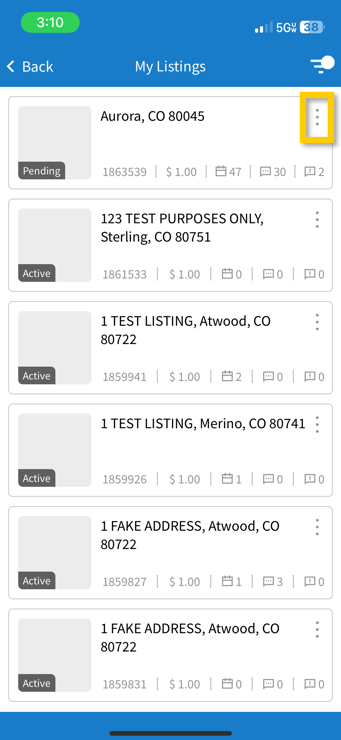
Navigate to the specific listing you’d like to customize and select the 3-dots in the upper right of the listing information.
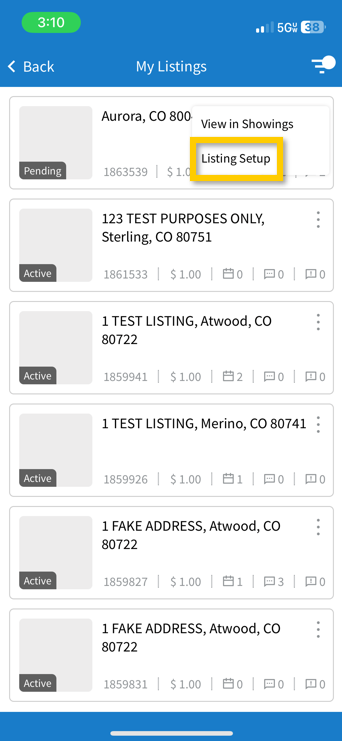
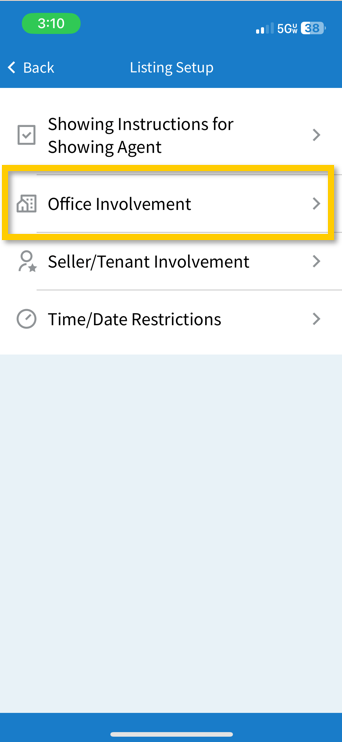
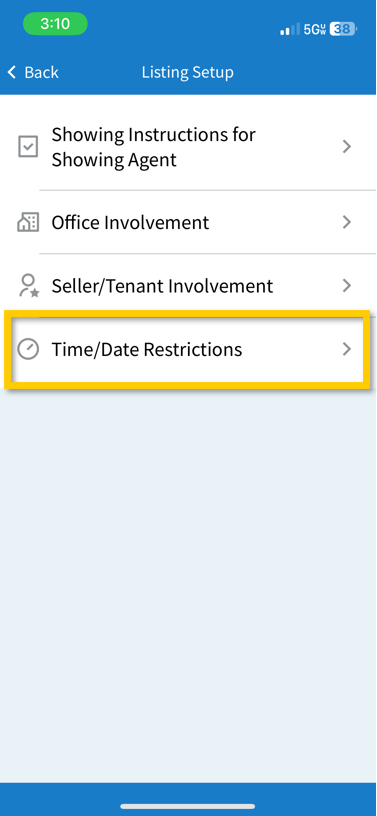
From the available options, choose Listing Setup.
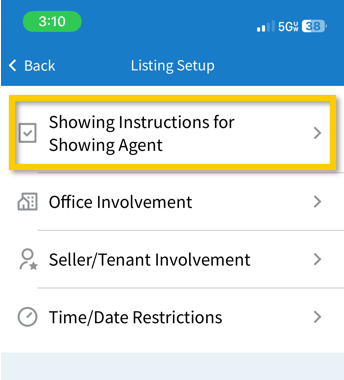
Showing Instructions for Other Agents
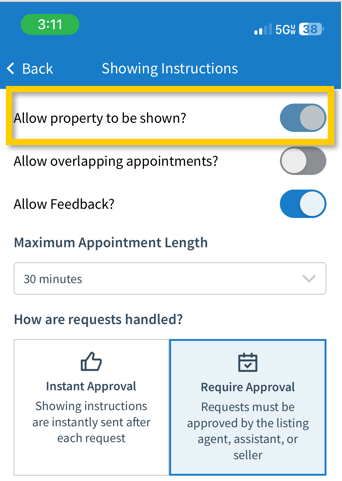
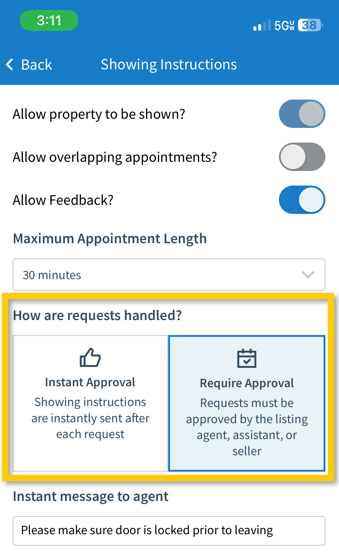
This section is where you indicate to other agents the parameters for showing your listing.
Settings include:
- Allow Property to be Shown: This setting will only be accessible through the UtahRealEstate.com Listing Input Process for new listings or through the Listing Inventory edit options. It will show here to reflect that setting but will not be editable within Aligned Showings.
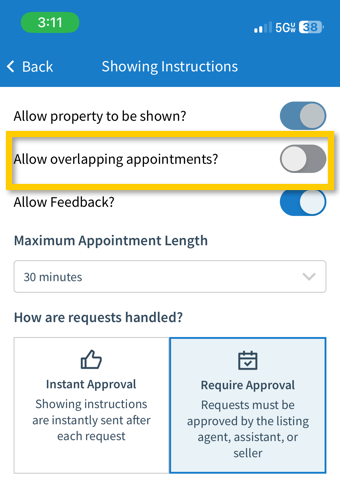
- Allow Overlapping Appointments: Used to allow or prohibit showing appointment requests from being sent in cases where another showing appointment request has already been approved for a given date and time. When “No” is selected, showing appointment requests cannot be submitted for any dates/times where other showing appointment requests have already been scheduled and approved.
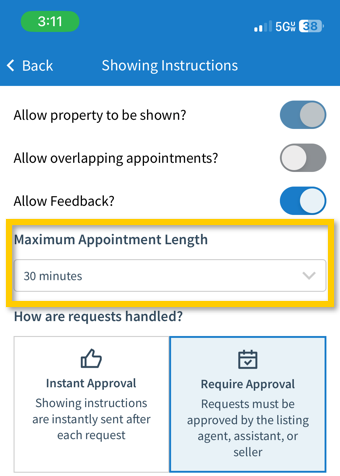
- Maximum Appointment Length: Specify if there is a maximum amount of time that you are allowing for the duration of a showing appointment.
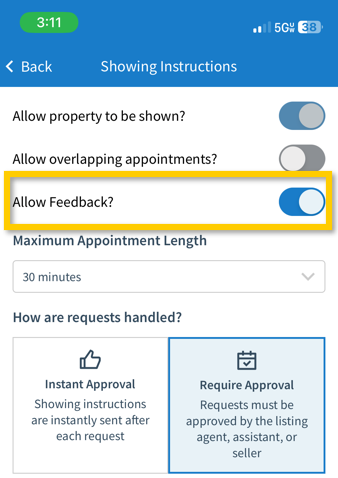
- Allow Feedback: When enabled, this will automatically send any showing agent who’s showing appointment request was approved a feedback survey after the showing has concluded.
- How are Requests Handled?:
- Require Approval means that any showing appointment request that is submitted must manually be approved. This is the default setting.
- Instant Approval means that any showing appointment request that is submitted will automatically be approved. You will still receive notifications when showing appointment requests are submitted, however, you will not need to approve/decline those requests, as the showing agent will receive an instant alert notifying them that their showing request has been approved. This is a good option in cases where a property may be vacant, or you are otherwise ok with the property being shown at any time.
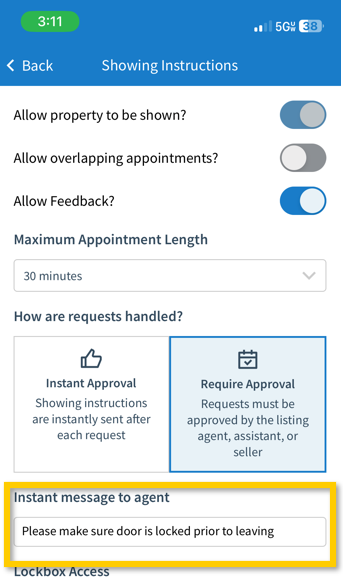
- Instant Message to Agent: Use this feature to send an automated message to any agent who requests a showing on your listing. This message is sent as soon as a showing appointment request is submitted on your listing. For example, you might add a message that says “allow 2-3 hours for a response” if you want to notify prospective showing agents that you may not immediately be able to respond to their showing request.
- Lockbox Access: Used to indicate how to obtain a key to the property.
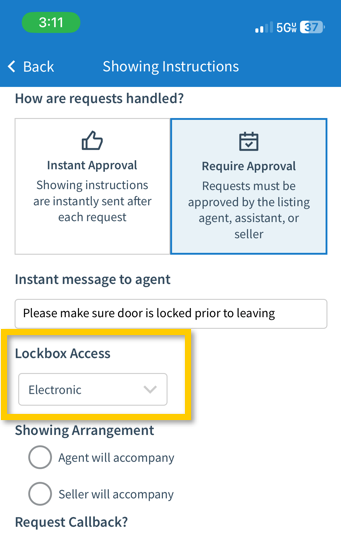
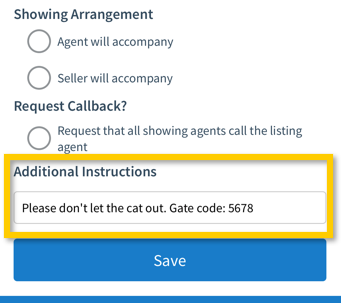
- Showing Arrangement: Used if you want to specify that the listing agent and/or the seller will be at showings.
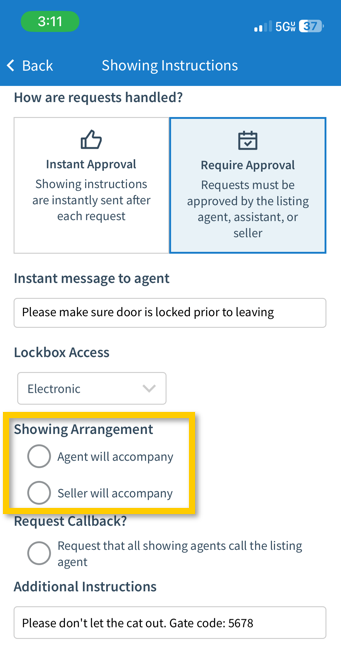
- Request Callback?: This setting allows you to instruct showing agents to call you prior to showing the property.
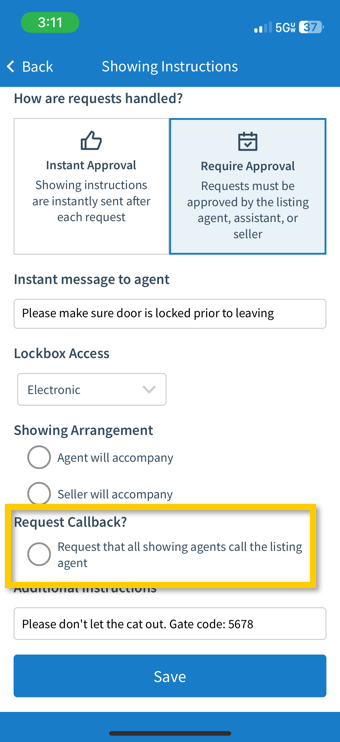
- Additional Instructions: Use this feature to send an automated message to anyone who’s showing appointment request is approved. The message is sent as soon as the showing appointment is approved. For example, you could use this tool to add a message that says “Thanks for showing. Please do not let the cat outside.”
Office Involvement
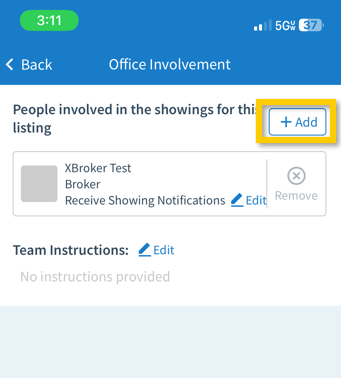
This setting is used if you want to authorize members of your team (i.e. an assistant, co-listing agent, transaction coordinator, etc.) to be involved in the management of showings for a specific listing.
Anyone you add to this section will (1) receive all notifications about showing requests, (2) will be able to approve or decline any showing requested on your listing, and (3) will be able to change the showing settings for your listing in Aligned Showings.
Add a team member using the + Add button.
Start typing the name of your team member and choose the correct user from the dropdown menu.
Choose which setting the user will have from the available options and select Save.
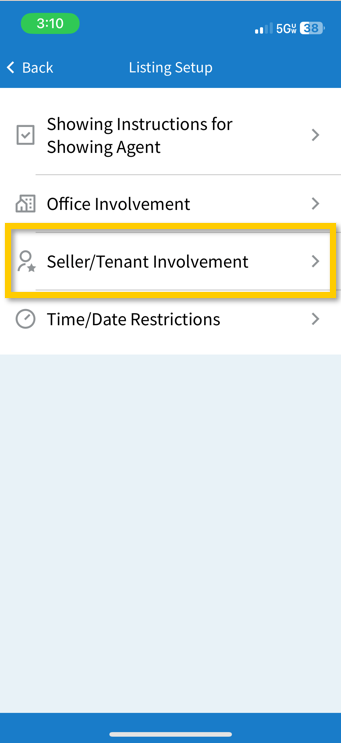
Seller/Tenant Involvement
This feature allows you to enable a seller[s] or tenant[s] to receive notifications about showing appointments. Optionally, you can also allow your seller or the tenant to approve or decline showing appointment requests submitted on your listing.
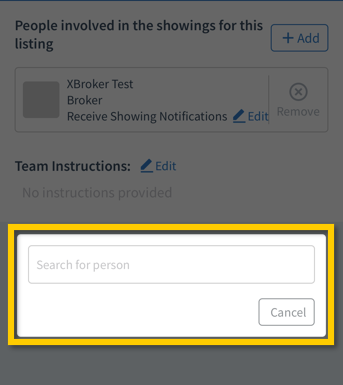
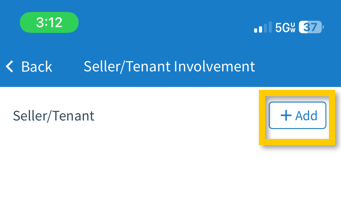
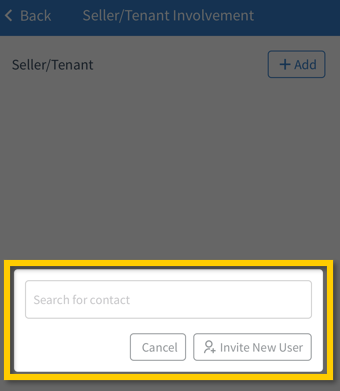
Select + Add next to the Seller/Tenant line item.
Next, start typing the name of a contact you’ve previously entered as a seller or tenant in Aligned Showings, or choose Invite New User for a new Seller/Tenant.
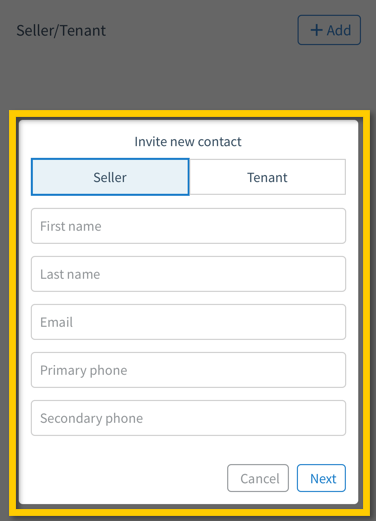
When adding a new Seller/Tenant with the Invite New User option, you’ll need to enter their First and Last name, the primary phone number and/or email address. The secondary phone number item is optional but not required.
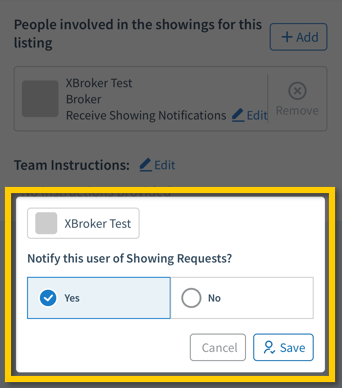
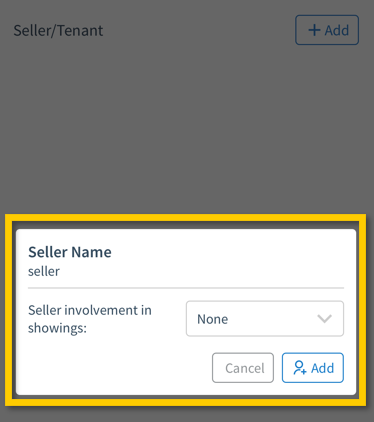
Specify the involvement you’d like the Seller/Tenant to have with the listing from the “involvement in showings” options, then hit Add to finish adding them to the listing contacts.
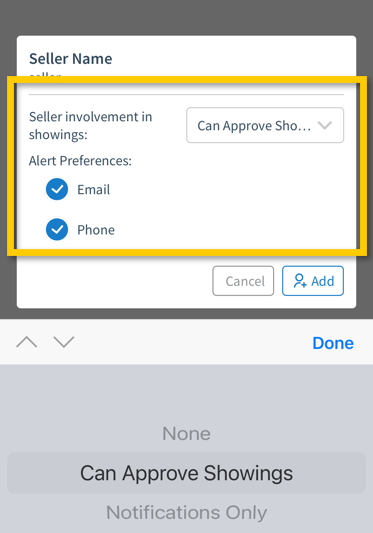
If you set the contact to Notifications Only or Can Approve Showings, you’ll need to indicate how you’d like the contact to be notified. They can alter their notification settings when they receive a notification via email or text.
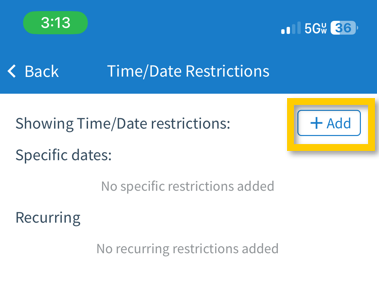
Time/Date Restrictions
This tool is used to block out times, dates, and/or specific days of the week when the property cannot be shown. When enabled, other agents attempting to request a showing on your listing will see any blocked out times as “unavailable” and will not be able to send you a showing appointment request for those times.
The ability to block out times as unavailable for showings is very customizable, as you can block out specific dates, recurring days of the week, specific times vs. an all day no showing restriction, etc.
Start by selecting + Add
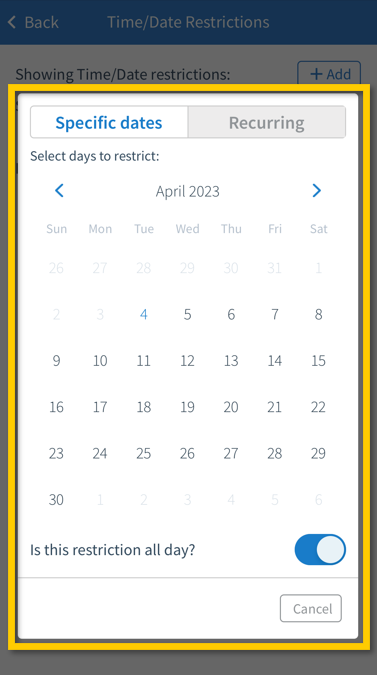
- Type of Restriction
- Specific Dates is used if you want to add a showing restriction to a specific date. For example, no showings on May 4th.
- Recurring is used to specify a recurring restriction for a specific day of the week. For example, no showings on Sundays.
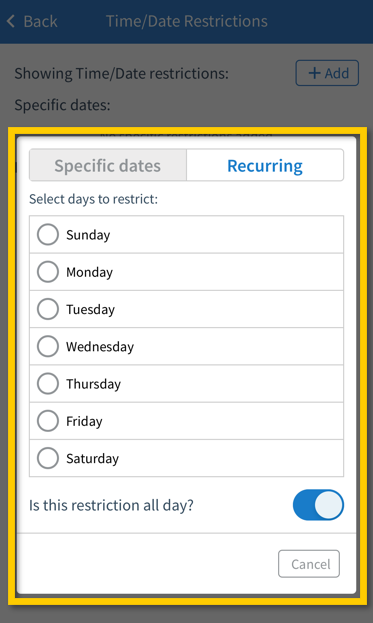
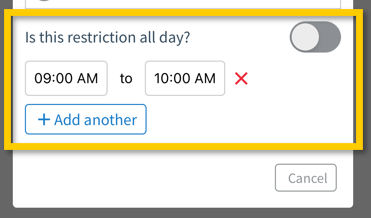
- Is This Restriction All Day?: This tool is used to designate whether the restriction applies to the entire day or only applies to certain hours during the day. You can block out one or more timeframes within a given day. For example, no showings on Fridays from 9:00 AM to 10:00 AM or from 5:00 PM to 6:00 PM.
How to Approve a Showing Request
You and your Listing Team Members can respond to showing requests from the mobile application. Please note this process is slightly different for Sellers/Tenants as they will be unable to access the Aligned Showings mobile application, for details on their view, click here. Below are the steps to respond to a showing request when you receive a notification as a Listing Agent or Listing Team Member.
1. Open the Aligned Showings mobile application from your phone or launch directly from the push notification regarding the request (opt into push notifications from your phone’s settings).

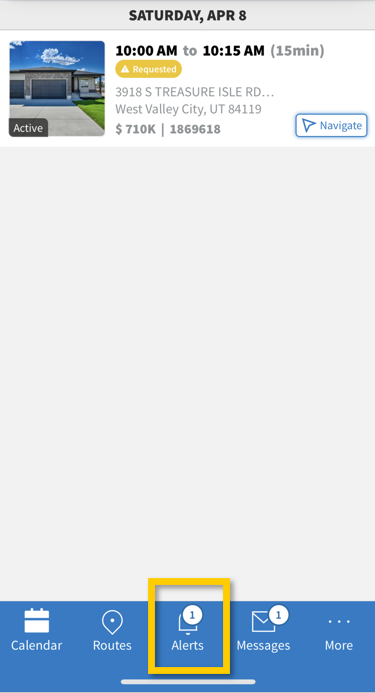
2. Click on Alerts, along the lower edge of the screen.
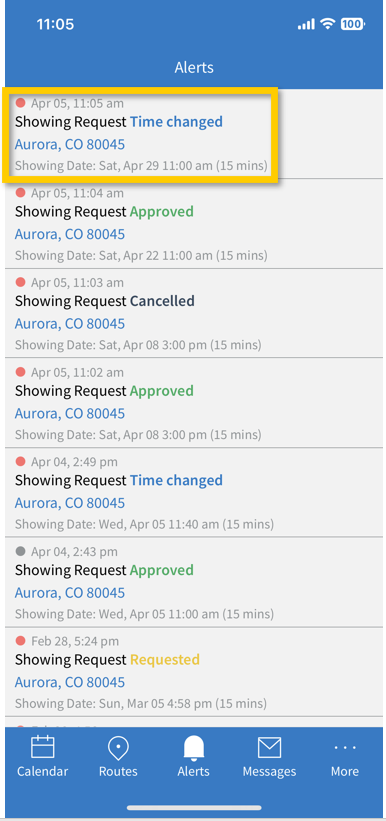
3. Click on the address in the Alert associated with the recent showing request. This will take you directly to the Message thread.
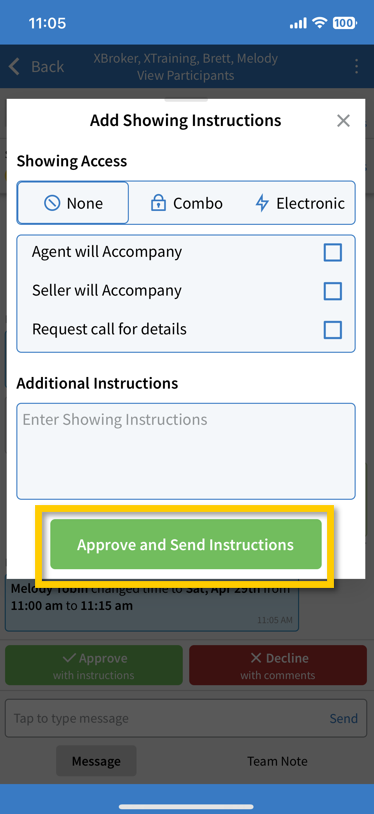
4. Near the bottom, above “Tap to type message”, click on Approve with Instructions.
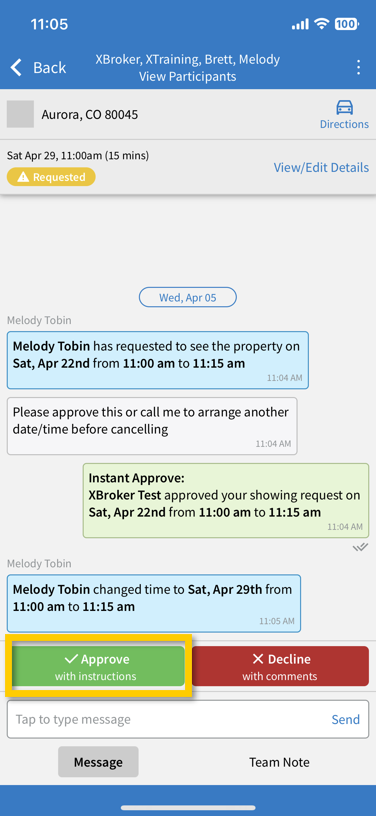
5. Enter any necessary additional instructions, these will be pre-populated by the Listing Setup process if indicated prior to receiving the request. Please Note: To customize the information to auto-populate, you must first go through the Listing Setup process outlined in the first section of this article. After confirming the showing instructions are accurate, click Approve and Send Instructions.
Anyone added to your listing team will receive all request-related notifications associated with the listing, can communicate in the message thread with the Showing Team making the request, and also has the ability to approve or decline a requested or rescheduled appointment. This process is different for Sellers/Tenants on the notification or approval process, which is outlined in this article.